If users wish to protect their extenders from possible attacks, Netgear Guest Network is a fantastic choice. You can prevent giving out your login information to strangers by using this option. But what happens if you can’t get the Guest Network to work? This article will assist you if such is the case. In just a few minutes, resolve the Netgear Guest Network not working issue by following the troubleshooting advice provided below.
How Can I Troubleshoot My Netgear Guest Network Problem?
Note: The procedures listed in this article to resolve the Netgear Guest Network not working issue will apply regardless of whether you have configured any other model or completed the Netgear wifi extender setup.
Restart the extender.
It’s possible that a bug in your extender is preventing you from using the Netgear Guest Network. Rebooting your extender involves unplugging it from the power socket for a while, then plugging it back in to resolve the problem. After that, see if you can use the Netgear Guest Network feature by trying to access it.
Update the Firmware
Has your extender’s firmware been updated recently? If so, it’s possible that the firmware version you obtained for your extender does not work with the model you have. In that scenario, you won’t be able to use the Netgear Guest Network feature. You must reset your extender to its factory settings and then configure it once more by connecting to the 192.168.1.250 Netgear extender IP address in order to resolve the problem.
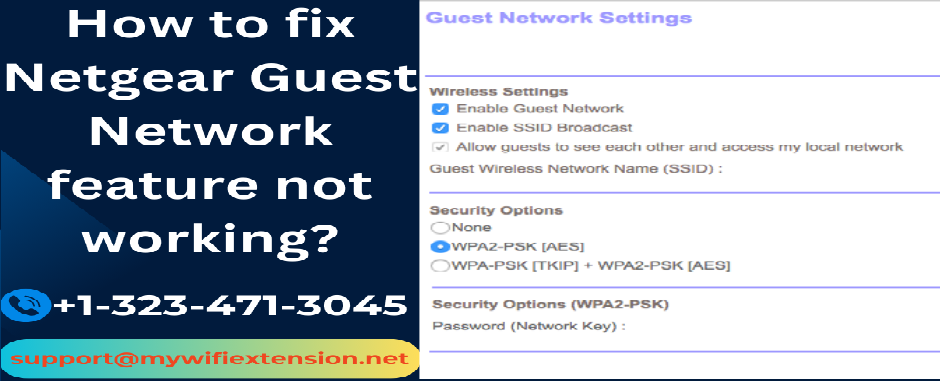
Turn on the Netgear Guest Network function.
Finally, you must verify if you have turned on your extender’s Guest Network option. If not, immediately go to your extender’s settings and use the default IP address to enable the capability. You can use the Nighthawk app to carry out the procedure as well. Here’s how to do it:
- Navigate to your smartphone’s App Store and look for the Nighthawk App.
- After finding it, use your device to download the app and sign into your extender.
- Your extender’s basic home screen will appear.
- Locate and press the Guest WiFi option.
- After that, you’ll be prompted to choose a WiFi band. There is a choice between 5GHz and 2.4GHZ.
- It will show the Guest WiFi network’s settings.
- Once there, slide the slider to activate the Guest WiFi option.
- After that, you’ll be prompted to configure your guest network’s network name and password.
- It is recommended that you use the “Share WiFi with QR Code” option if you wish to provide your loved ones access to your Guest Network account with a QR code.
- In addition, you have the option of defining a time limit for your visitors to access your WiFi network. You can accomplish this by choosing the time period option.
- Remember that users with access to your Guest WiFi network account will no longer be able to use their connected devices to access the internet after the time period associated with the account ends.
- Press “Save” to enable the modifications you made to your extender to take effect.
To fix the Netgear Guest Network not working issue, follow these steps to enable the Guest WiFi network on your WiFi range extender.
Conclusion
Your extender’s Guest Network feature safeguards the security of connected devices to your home WiFi network. Please feel free to contact our technical support professionals for assistance if, despite trying the tips provided in the article, your Netgear Guest Network is still not functioning for you.