To increase the current WiFi network’s coverage and range, Netgear EX7320 setup is the effective way. The setup method for your Netgear WiFi range extender is simple and doesn’t require much technical knowledge. Due to multiple dead zones, many users are unable to access the internet across their home or place of employment. Dead zones are generally areas with bad or no WiFi access for customers. Therefore, Netgear Extender Setup is the best choice to transform these boring areas into entertaining ones.
Netgear EX7320 manual setup
Follow these detailed instructions for Netgear EX7320 manual Setup:
- First of all, turn on your Netgear EX7320 Extender.
- Make sure your extender and router are placed in the same room.
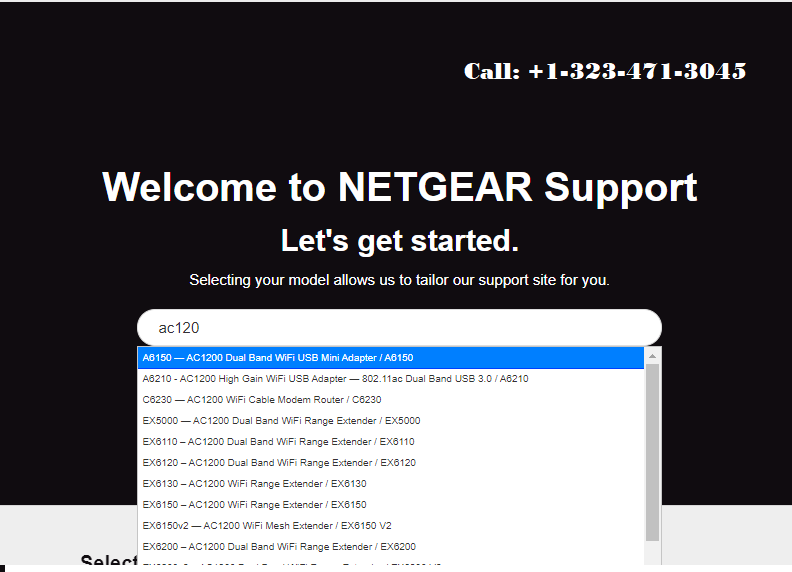
- Launch any web browser according to your choice.
- Enter mywifiext.net or 192.168.1.250 in the web browser address bar.
- Now the netgear assistant displays on the screen .
- Now enter your username or password to proceed to the next steps.
- Click the login button.
- Follow the on screen instruction to complete the netgear extender setup.
Your Netgear EX7320 Setup is now ready to enhance Wi-Fi coverage, eliminating dead spots and ensuring a steady internet connection across your home or office. This is because it has been manually set up.
Netgear EX7320 Setup using wps method
WPS (Wi-Fi Protected Setup) is a quick and easy way to setup the Netgear ex7320 setup. You don’t need any type of password or username to setup Netgear extender.
Use the instructions below for Netgear EX7320 Setup with WPS (Wi-Fi Protected Setup):
- Firstly, turn on your extender.
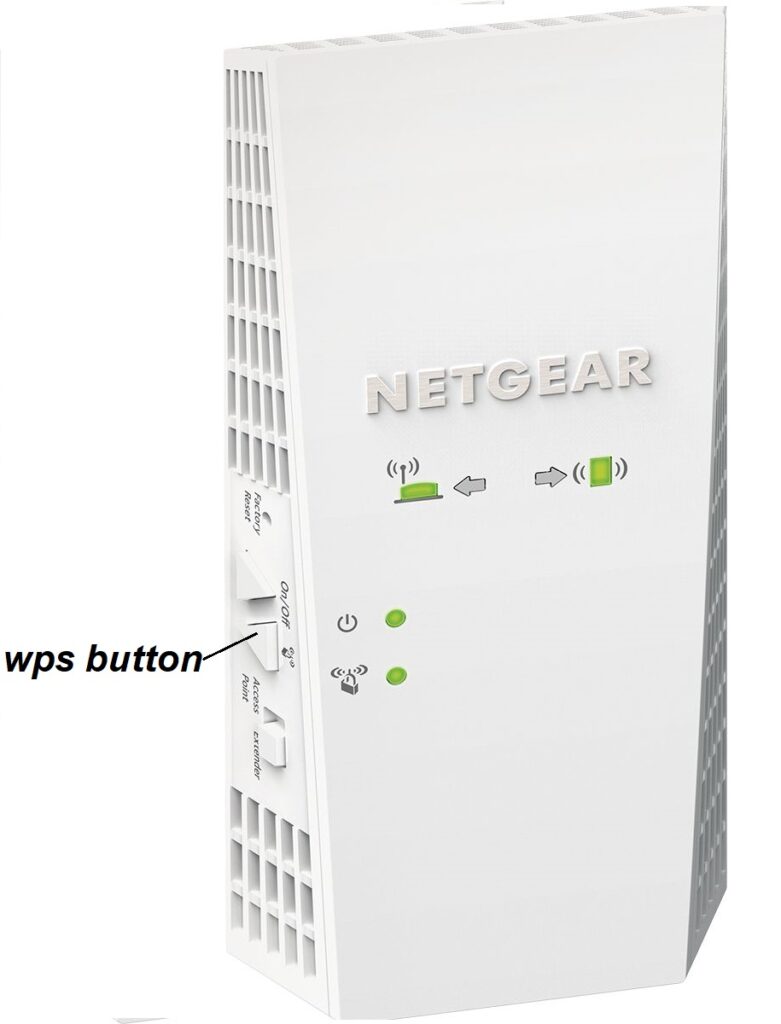
- Ensure that your extender and router are placed in the same room and both contain the WPS button.
- Press the WPS button on the extender for a few seconds until the WPS LED light starts to blink.
- Now press and hold the WPS button on your router.
- Wait for the solid green WPS LED light that indicates that your Netgear extender setup is successfully completed.
- Place the extender in a desired location
That’s how you can easily set up your netgear extender with the help of WPS method. If you’re facing any issue related to the Netgear extender setup then contact our professional experts via toll free no. or live chat.
Firmware Update for the Netgear EX7320
For maximum performance, security, and problem fixes, it’s critical to keep your Netgear EX7320 extender’s firmware up to date. To upgrade the firmware, adhere to following steps:
- Turn on your extender.
- Take a smart device and launch a web browser of your choice.
- Now visit the mywifiext net login wizard using a web browser.
- Enter your username or password to access the login page.
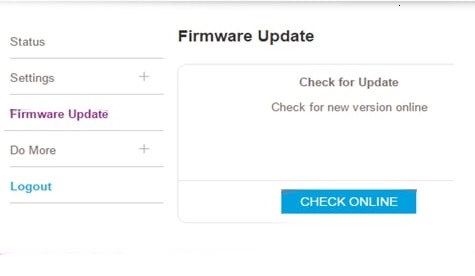
- Simply search for Firmware Upgrade and click.
- Next, select Update Now.
- This process takes a few minutes so don’t interrupt your device.
- Your netgear extender will restart automatically after the firmware update is successfully complete.
That’s how you can easily update your netgear extender firmware.
Netgear EX7320 Setup Common Issues
Here are some common issues that occurs during the Netgear EX7320 Extender Setup:
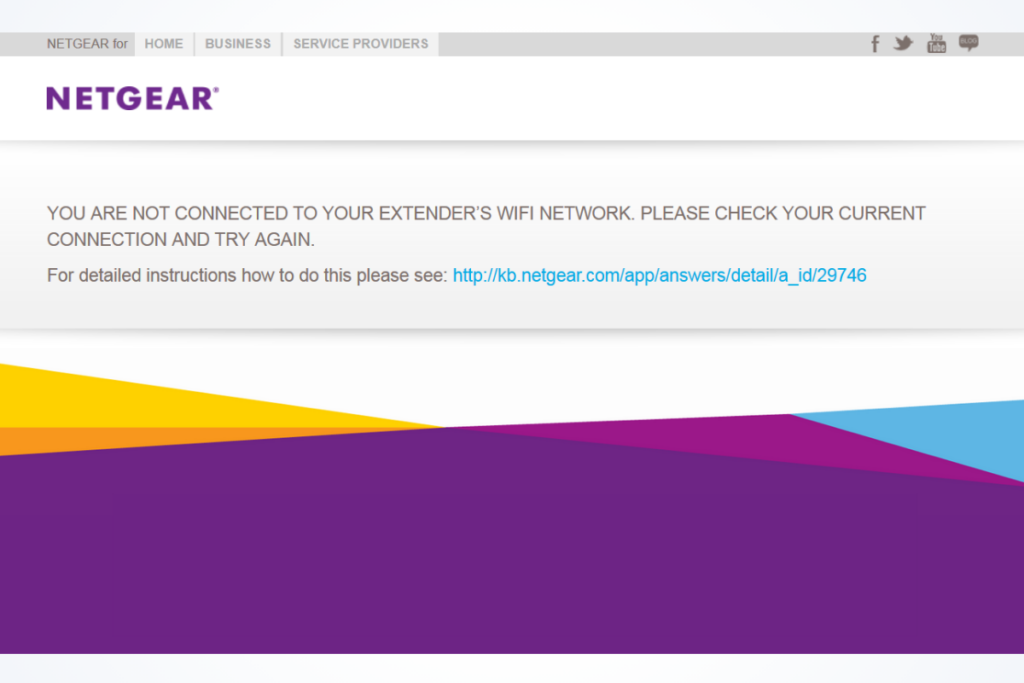
- Unable to visit mywifiext.net.
- Poor WiFi signal strength.
- Unable to connect to the default SSID.
- Can access default ip address 192.168.1.250
- Password for Netgear extender lost or forgotten.
- Extender is connected, but there is no internet.
- Lost configuration CD.
- Blinking red light issue.
Troubleshooting tips and tricks
By using the troubleshooting advice provided below, you can solve a lot of Netgear EX7320 extender setup-related problems on your own:
- Make sure your extension is placed in the same room as your router during setup.
- Verify that each of your gadgets is securely linked to a power source.
- Make sure that all the gadgets are receiving a sufficient supply of power.
- Update your web browser to the most recent version and erase its cache, cookies, and browsing history before accessing the Netgear extender’s default web address.
- Keep your extension away from anything that could interfere with its WiFi transmissions. These gadgets can include Bluetooth devices, microwaves, refrigerators, and cell phones.
How to reset Netgear EX7320 Extender?
If your extender can’t provide the proper signal and behave badly then don’t hesitate. The one and only solution is Netgear ex7320 reset process. But must be reminded that the reset process completely erases your previous settings. To reset the Netgear wifi range extender, follow these instructions:
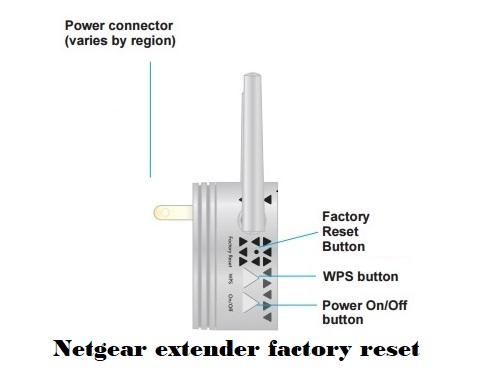
- On the Netgear wifi extender, find the reset button.
- The extender’s side panel has the reset button.
- Using a paper clip or sharp pin, press and hold the reset button for at least five seconds.
- Don’t let go of the button before the given amount of time has passed.
- A power LED must be turned off before being turned back on.
- This indicates that the reset process was successfully completed.
- Now Wait for the extender to restart after releasing the reset button.
- Don’t unplug your extension because it can take a few minutes for this to finish.
If you are unable to complete the factory reset procedure, contact us at our toll-free numbers or through live chat. Our technical staff will assist you in solving your issues.