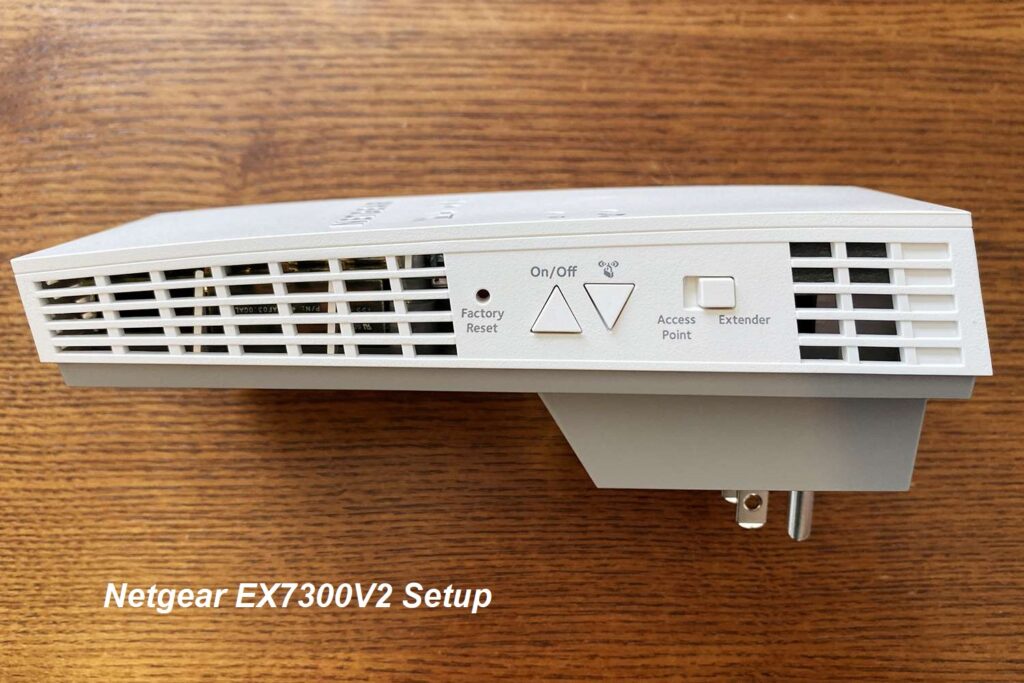
The Netgear EX7300V2 Setup is an easy process that involves connecting the extender to your existing Wi-Fi network and customizing its settings to suit your preferences. By following the step-by-step Netgear wifi range extender setup instructions, you can quickly extend the range and performance of your Wi-Fi network without the need for any complex technical knowledge.
The Netgear 7300V2 wifi extender delivers a smooth and steady Wi-Fi connection in regions with absent signal, removing dead zones and guaranteeing a seamless internet experience throughout your home.
Netgear EX7300V2 Setup via Manual Method
To set up the Netgear EX7300V2 range extender using the manual method, follow these steps:
- Position the AC2200 extender near your existing Wi-Fi router.
- Plug the extender into an electrical outlet and wait for the power LED to become solid green.
- On your computer or mobile device, go to the Wi-Fi settings and join the “NETGEAR_EXT” network.
- Launch a web browser on your connected device (e.gChrome, Firefox, Edge) and enter “www.mywifiext.net” in the address bar.
- If prompted, create a Netgear account or log in with your existing account.
- Choose a name (SSID) and password for the extended network.
- Once the extender restarts, connect your devices to the extended Wi-Fi network using the new network name and password.
The Netgear EX7300V2 setup is complete, and it is now prepared to extend your Wi-Fi network, offering enhanced coverage and performance in areas experiencing weak signal strength.
Setting up the Netgear EX7300V2 Using WPS Method
The Netgear EX7300V2 setup using the WPS (Wi-Fi Protected Setup) method, follow these steps:
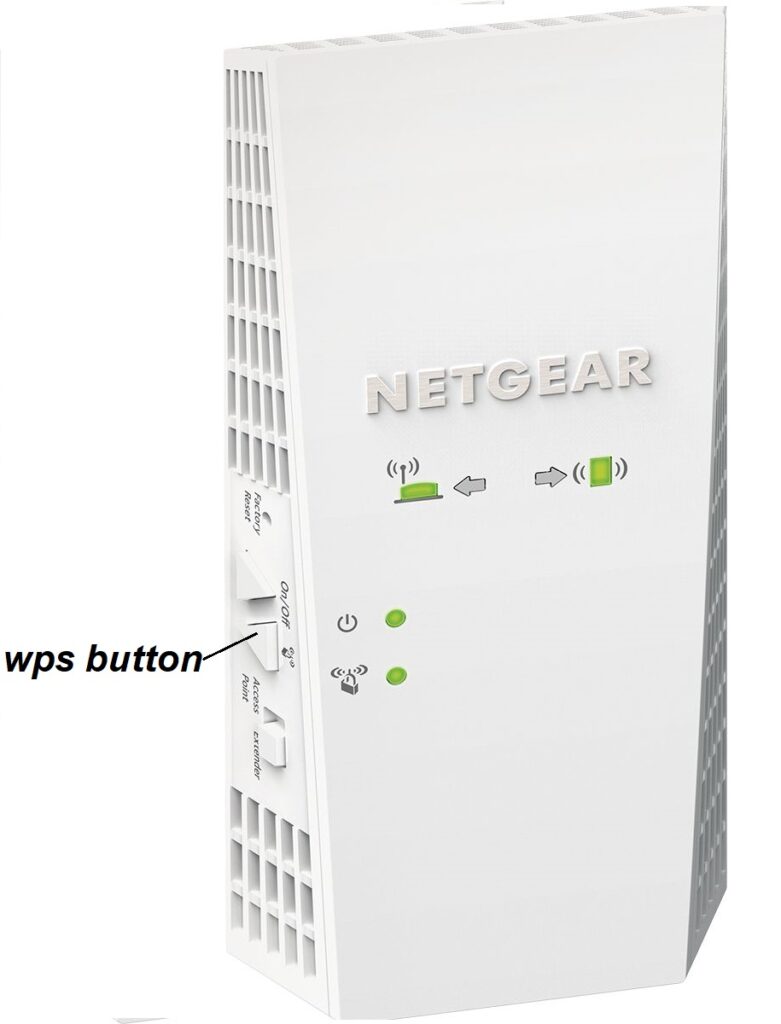
- Plug in the extender and place it near your Wi-Fi router.
- Press the WPS button on the Netgear EX7300V2.
- On your WiFi router, press the WPS button.
- The WPS LED on the extender will light up, indicating a successful connection.
- Move the AC2200 extender to your desired location and ensure it’s within the range of your existing Wi-Fi network.
- The Netgear EX7300V2 is now set up and ready to enhance the range and performance of your Wi-Fi network.
You used a simple one-button push technique to complete the Nighthawk X4 WiFi Mesh Extender setup. You wouldn’t agree anymore with us. The process is very simple and quick.
Netgear EX7300V2 Setup using Nighthawk App
The Netgear EX7300V2 Setup using the Nighthawk app involves the following steps:
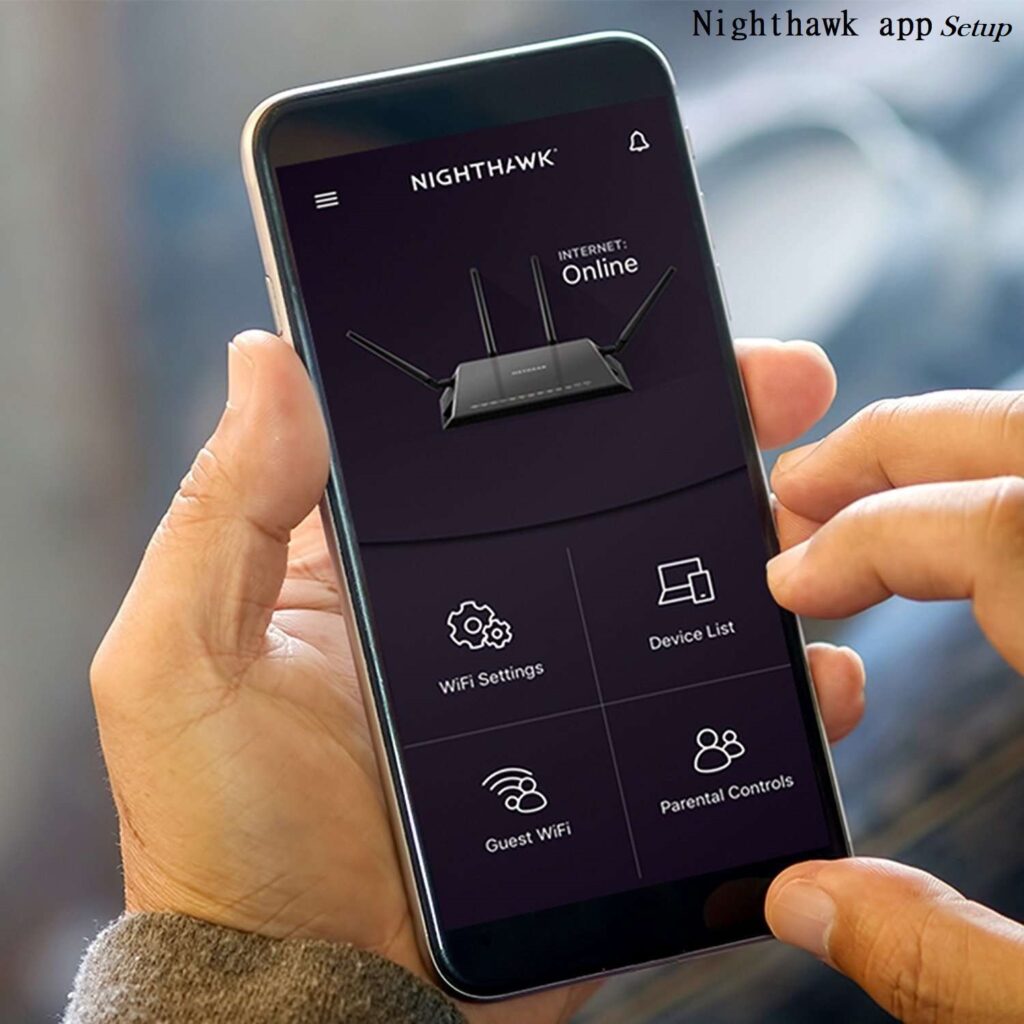
- Download and install the Nighthawk app for your smartphone or tablet. It is suitable with both the iOS and Android mobile operating systems.
- Power on the AC2200 EX7300V2 range extender and ensure it’s in the coverage of your Wi-Fi router.
- Use your mobile device to connect to the “NETGEAR_EXT” Wi-Fi network (default SSID).
- Launch the Nighthawk app and follow the on-screen prompts to set up your extender. Create a Nighthawk account if required.
- Choose a name (SSID) and password for the extended Wi-Fi network. You can use the same credentials as your existing network or set custom ones.
- The app will apply the chosen settings to the extender, and the extender will restart.
- After the Nighthawk X4 WiFi Mesh Extender setup is complete, connect your devices to the extended Wi-Fi network using the new network name and password.
The Nighthawk app simplifies the setup process, providing a user-friendly interface to configure and manage the Netgear AC2200 EX7300V2 range extender effectively.
How to update firmware on my Netgear EX7300V2?
To perform a firmware update for Netgear EX7300V2 AC2200 Extender, follow these steps:
- Make sure that your computer or mobile device is connected to the EX7300V2’s WiFi network.
- In a web browser, type “mywifiext.net” or “192.168.1.250” into the address bar.
- Enter your Netgear account credentials or use the default username and password (usually “admin” for both) to log in.
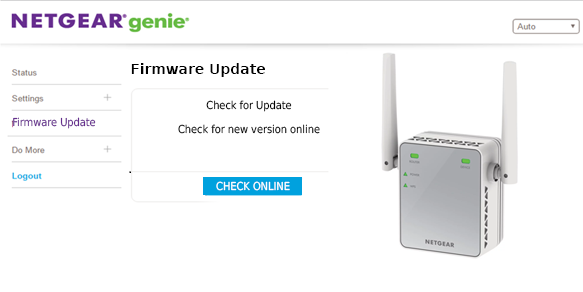
- Select “Firmware Update” or “Advanced Settings” from the menu.”Check for New Updates.”
- Download the latest firmware versions that are available.The device might prompt you to confirm the update.
- The firmware update process will take some time. Do not interrupt power or disconnect during the update.
- When the update is finished, the device will reboot automatically.
- Log in again to the device’s web interface to confirm that the firmware version has been updated.
Firmware updates are important for security and performance improvements. If you encounter any issues, refer to the device’s manual or Netgear’s support resources.
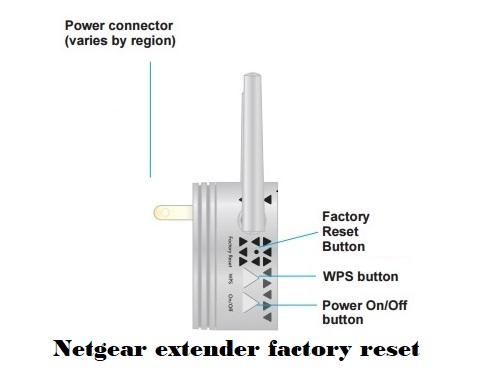
How to perform Factory reset on Netgear EX7300V2 ?
After the factory reset, you will need to set up your Netgear EX7300V2 again as if it were a new device. This includes configuring your network settings, Wi-Fi name, and password. Performing a factory reset will erase all custom settings and configurations you’ve made on the extender, so make sure to have a backup of any important settings if needed.
Follow the following steps to perform factory reset on your Netgear Extender:
- Locate the reset button on your Netgear EX7300V2. It’s usually a small hole labeled “Reset” on the device.
- Using a paperclip or a small pin, press and hold the reset button for about 10-15 seconds.
- Release the reset button when the Power LED on the extender starts blinking.
- Wait for the extender to reboot. This may take a few minutes.
- Once the Power LED becomes solid, the factory reset is complete. The extender is now back to its default settings
Troubleshooting steps for Netgear EX7300V2 Setup issues
Follow the given steps for Netgear EX7300V2 Setup common issues:
Check Power and Connectivity: Make sure the range extender is powered on and connected to an electrical outlet.
Verify Wi-Fi Connection: Ensure that your computer or mobile device is connected to the extender’s default Wi-Fi network, labeled as “NETGEAR_EXT” or something similar.
Clear Browser Cache: Clear your web browser’s cache and cookies to avoid potential conflicts during setup.
Use Correct Setup URL: Access the setup wizard using the correct URL (http://www.mywifiext.net/ or http://www.mywifiext.com/).
Disable VPN and Proxy: Temporarily disable VPN or proxy settings on your device, as they might interfere with the setup process.
Reset Extender : If you encounter issues during setup, consider resetting the extender to factory settings and start the setup process again.
Check Wi-Fi Password: Verify that you’re entering the correct Wi-Fi password when connecting the extender to your existing network.
Update Firmware: Check for firmware updates for the extender on Netgear’s support website and apply them if available.
Move Extender Closer: If the setup is failing, try moving the extender closer to the router during the initial configuration.
Disable MAC Filtering: Temporarily disable MAC filtering on your router, if enabled, to ensure the extender can connect.
If you encounter persistent issues during setup, consult the Netgear support documentation or contact their customer support for further assistance.