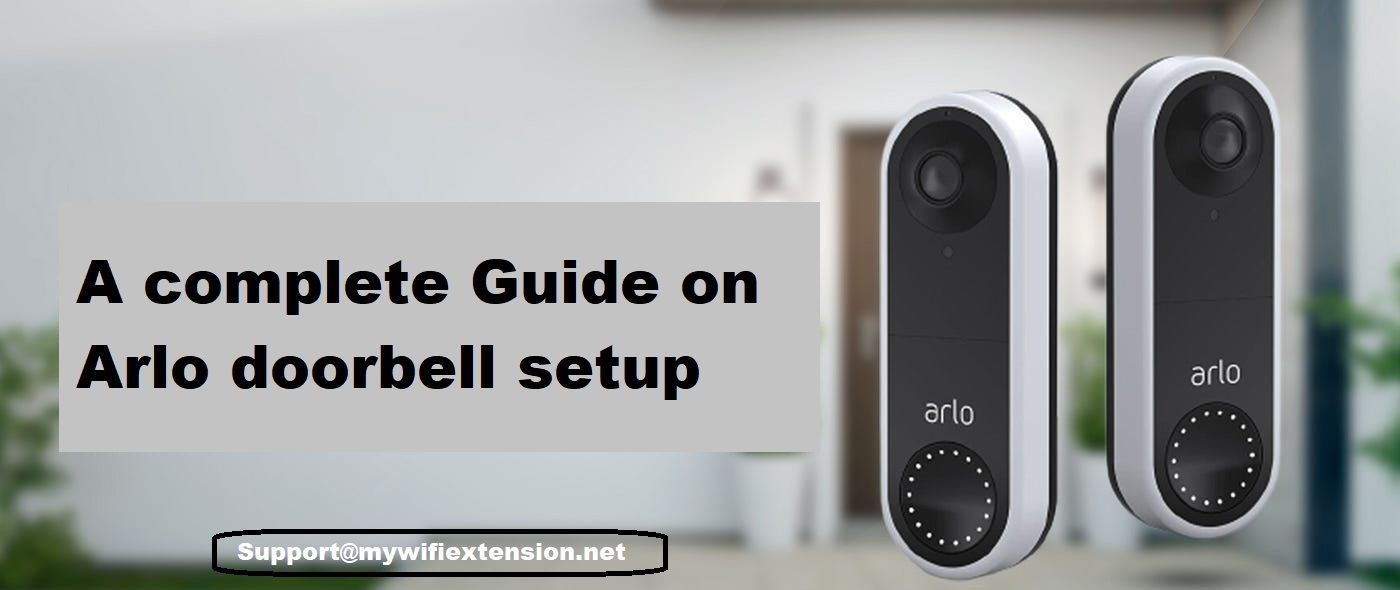
The Arlo doorbell setup is quite easy to do. Your Arlo Essential Video Doorbell Wire-Free enables you to see a more comprehensive image at your door. Connect directly to WiFi for simple configuration. Your cordless video doorbell can be powered by either a rechargeable battery or a hardwired connection. Receive when motion is sensed
You may view notifications and live video on your phone. Observe what is at the door from head to toe or a package on the ground throughout the day or in low light with night vision without opening the door. Use two-way audio to communicate with visitors or prerecord short response messages when you are busy.
Requirements for Arlo doorbell setup:
- The products that came in the box
- The Arlo app
- A screwdriver
- A power drill (optional)
How to do Arlo doorbell setup wirelessly?
Here are the steps for Arlo doorbell setup wirelessly:
- Charge the battery included with your Arlo Doorbell first.
- Connect your mobile device to the Wi-Fi network.
- Connect the doorbell to your Wi-Fi network using the QR code included in the Arlo package.
- Mark the optimal location for your Arlo doorbell.
- Install your Arlo doorbell using the included installation components. You will probably need a screwdriver or drill.
- Clearly, mounting either choice is straightforward. However, the wireless method is safer and less permanent. With the wireless version, the battery must be removed every few months to charge the doorbell.
- After mounting your Arlo doorbell, navigate through the app to explore all of its capabilities. Additionally, link it to your smart home ecosystem in order to incorporate it into your entire home.
- Launch the Arlo app to connect your Arlo doorbell with your existing wifi and follow the prompts.
Arlo’s doorbells offer a generous return policy and guarantee, so if you’re having trouble with the Arlo doorbell setup process, give us a call. The Arlo Essential Doorbell should withstand any weather or temperature that is suitable.
Also read:
Why is my iPhone not connecting to the Netgear extender network?
Tricks for enhancing Netgear extender performance
How can the power of the Arlo doorbell homekit be activated?
Why do you need a power kit? is likely the first question that comes to mind. The power kit is helpful if you are using the wired Arlo Essential Video Doorbell, as it offers a constant power source to the doorbell, allowing it to function continuously. The power kit prevents the traditional doorbell from ringing while the camera is live streaming or recording.
However, the power kit must also be installed using the Arlo app.
Items required for installation of the Power kit
Please review the following checklist before beginning the installation process:
- First, ensure that the power kit included in the packing of your Arlo Essential Video Doorbell is wired.
- Additionally, you must select the location of your doorbell chime box.
- Lastly, you must possess the Arlo app.
How can you determine that your Chime Box is compatible for Arlo doorbell setup?
Therefore, before beginning the Arlo doorbell setup procedure, you should determine whether your installation kit is compatible with the Chime box. And in order to determine compatibility, you must first identify your chime box. Generally, the chime boxes are located close to the doorbell.
There are currently three distinct types of chimes boxes:
- First which is powered exclusively by wires.
- The second type is both wired and battery-powered.
- The third type is powered solely by batteries.
- Depending on these factors, there may or may not be compatibility between the power box and the power kit.
What types of chime boxes can be used with the power kit?
The Wires-only Chimebox: If the chime box can be powered by 16-24V AC voltage, it is compatible with the doorbell’s power kit.
With wires and batteries: Compatible with the Arlo Essential Video Doorbell Wired power kit is the chime box.
The Chime Box, with only batteries: Incompatible with the Arlo Essential Video Doorbell wired power kit are these chime boxes.
How is the Power Kit installed?
Follow the procedures below to install the power kit:
- First, remove the power kit from its packaging.
- Then locate your bell box. Typically, the chime boxes are positioned near the doorbells.
- Remember to turn the power off at the beaker.
- Then, remove the cover from the chime box.
- Connect the wires of the power kit to the chime box’s terminals. The Arlo app contains the instructions for connecting the power kit to the chime box.
- Lastly, you must install the power kit inside the chime box. The chime box must be placed in a secure location within the power kit.
- Thus, it will not interfere with the chime box’s other operations. The Arlo app may recommend where the power kit should be placed in the chime box.
How can the Bypass mode be Enabled?
When the wired Arlo Critical Video Doorbell fails to operate even when it is receiving 16-24V AC electricity, the Bypass mode becomes essential. After using the bypass mode, the doorbell is no longer electrically connected to the doorbell chime. Thus, it prevents the doorbell chime from sounding when the doorbell is pressed.
When should the bypass mode be enabled?
The bypass mode must be activated when the following conditions are met:
- When the doorbell chimes unexpectedly and at random.
- If the amber LED on your Arlo Essential Video Doorbell illuminates during initial setup, the doorbell is wired.
- When you upgrade your transformer to 16-24V AC voltage, your chime is unable to supply that much electricity.
Methods to Activate the bypass mode
Follow the instructions below to enable bypass mode on your Arlo power kit:
- First, you must switch off the electricity at the circuit breaker.
- Then remove the cover from the doorbell chime.
- Now you must locate the Arlo doorbell’s power kit.
- Next, move the X switch on the power kit to enable the Bypass mode.
- After activating the Bypass mode switch, turn on the circuit breaker.
- Lastly, you must enable the conventional chime settings via the Arlo app.
Follow these steps to achieve this:
- Launch the Arlo app.
- Then, navigate to the Settings menu and select My devices.
- Now you must configure the wiring of your Arlo Essential Video Doorbell.
- Select then the Traditional Chime choice, followed by the None option.
- So, the power kit will now circumvent the doorbell chime.
- Therefore, the chime will not sound when the connected Arlo Doorbell is pressed.
This is how you can finalize the Arlo doorbell setup process. In case if you are having any issues with any step, you can contact our professional technical team by dialing our tool-free number or also via live chat.